The switch has small holes that line up with the white arms on the button.
Assemble Buttons
Assemble the buttons for your Getting Started Kit
Step 1
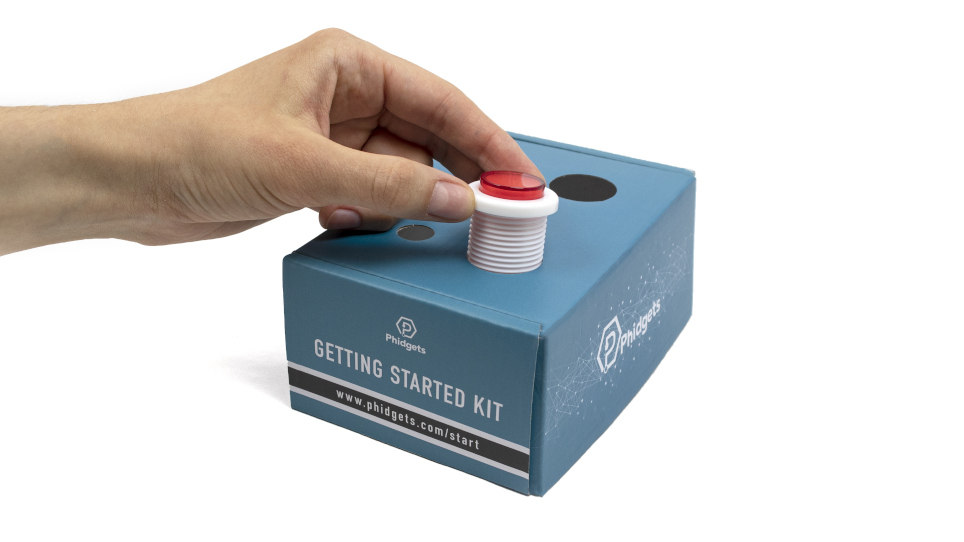
Place the button into the Getting Started Kit box as shown.
Step 2
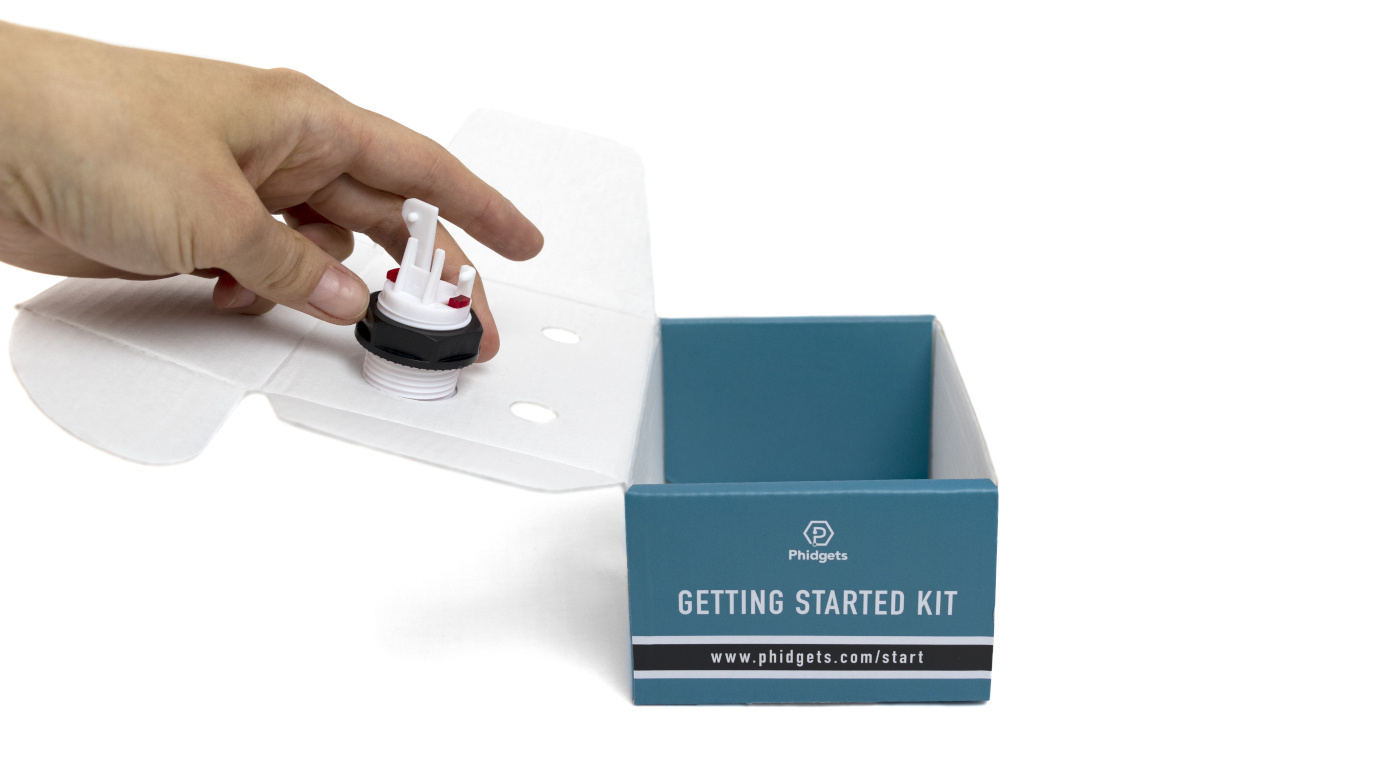
Attach the black ring nut to secure the button
Step 3
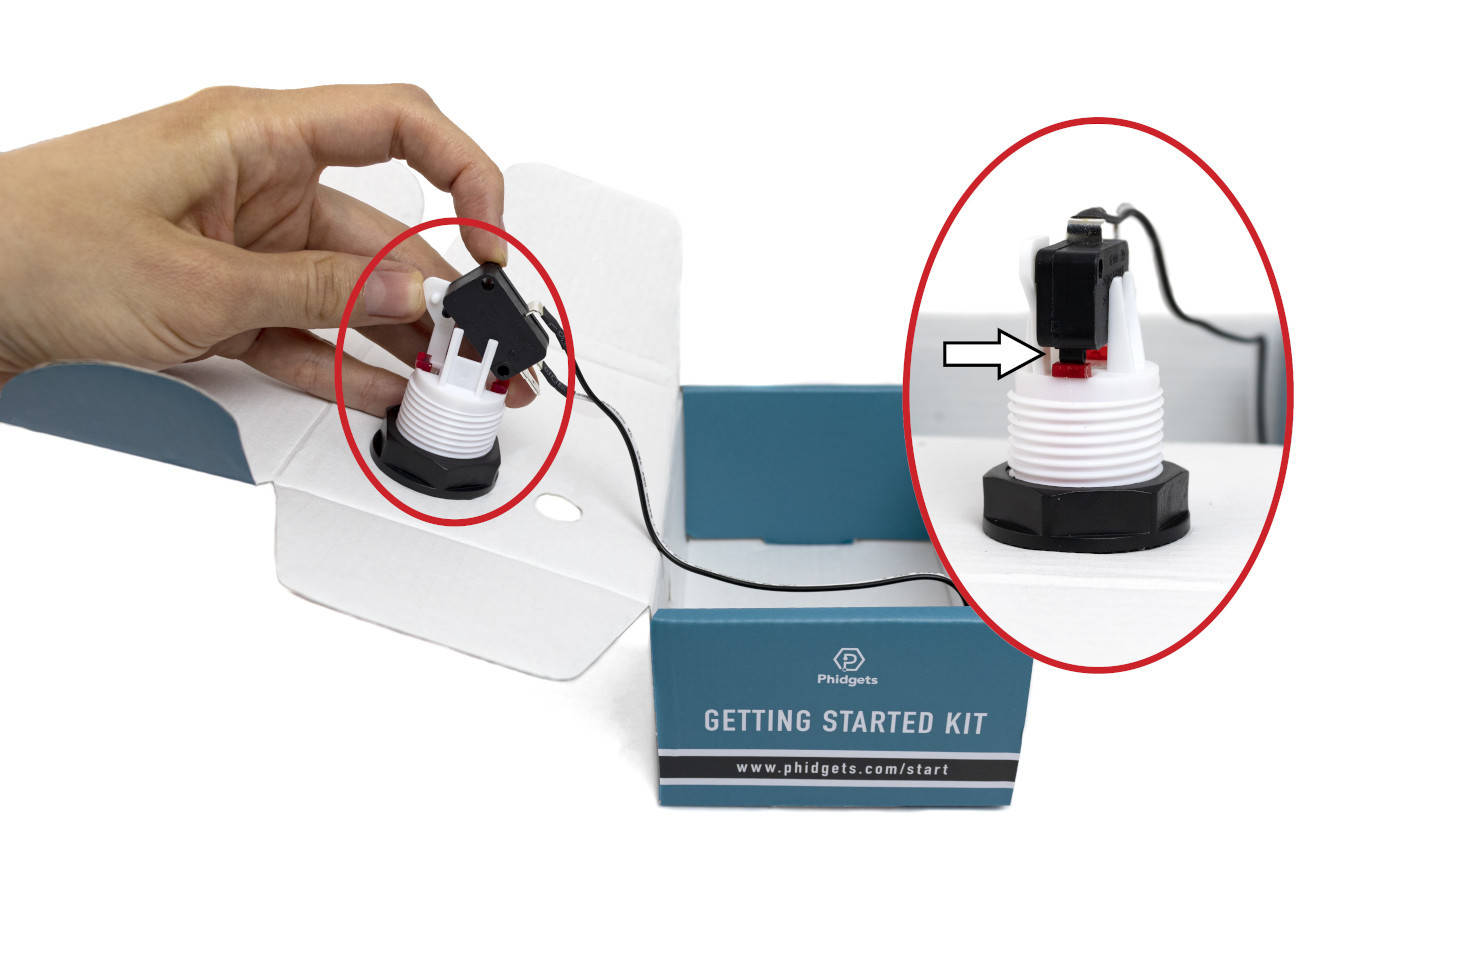
Next, you will have to attach the switch to your button. Make sure the switch is facing the button as shown in the picture.
Step 4
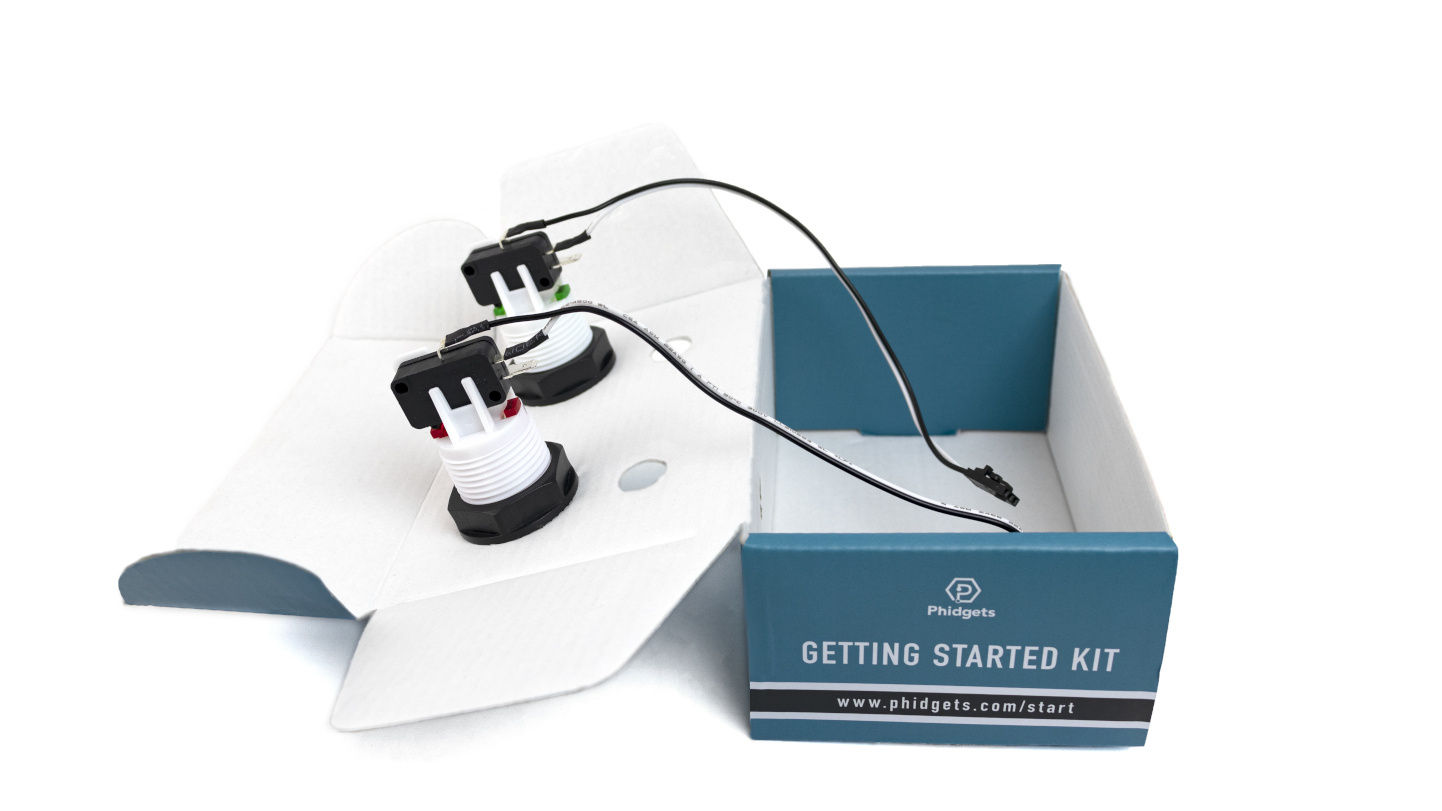
Repeat for other button.
NEXT: Assemble LEDs